For convenience, I wanted my Audio Analyzer to have an integrated Power Amplifier, so I would not have to hook up an external amplifier. And it had to be a stereo amp so I could do twin-tone DFD measurements on microphones using two tweeters; one amp + speaker for each tone. By using two amps and two speakers, you will avoid the intermodulation products of a single amplifier plus speaker, which would void your DFD measurements. And with a stereo amp, the Audio Analyzer also doubles as a multimedia centre for music playback.
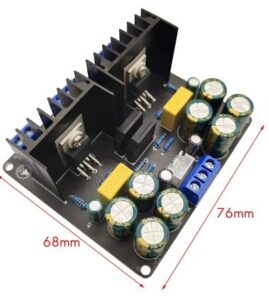
The amplifier I used is just a ready-made LM1875-based module purchased through Aliexpress. Note: I do not earn a commission when you buy from this seller. It is merely meant to serve as an example.

The Power Amplifier inputs can be switched between the left and right channels of the Line Output module. The reason for this is that only one Speakon connector fitted on the front, to which I wanted to be able to route the signal from the active Line Out output. The other Speakon is on the backside of the Analyzer cabinet and is less convenient to use. If both Speakons were on the front side, the switch wouldn’t be needed.
The level of the Power Amps can be adjusted by two trimmer pots, which I mounted on a breadboard PCB, together with the Headphone Amp buffer amplifiers and Headphone Amp power supply. The schematic of this PCB is depicted on the Headphone Amp page.
The amplifier is powered by two 19.5V 45W laptop power supplies. They will not be able to drive both amplifiers at full power, but that will never be needed. A few Watts of power will do for most measurements, but low-power amp modules often excel in high distortion, which is of course not what you would like to see in an Audio Analyzer.
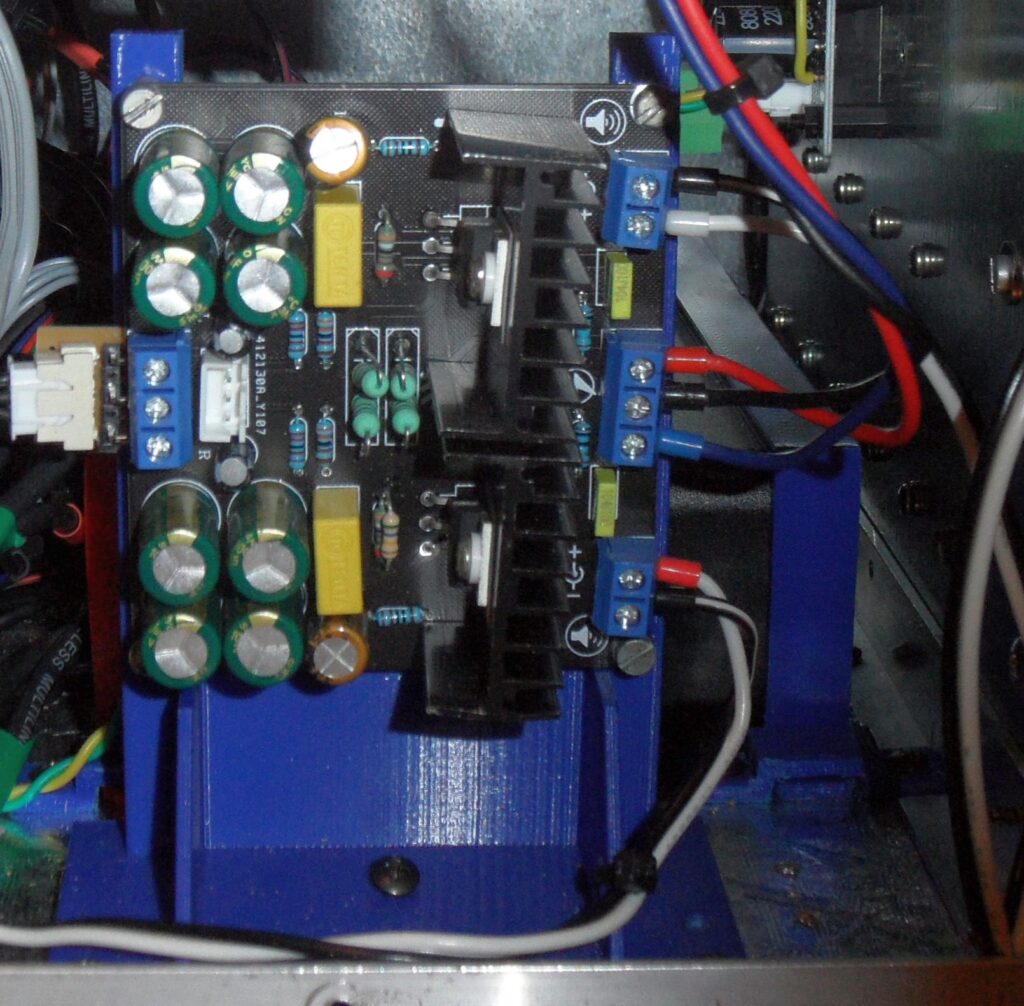
I’ve made a few modifications to the LM1875 PCBA, which can be seen in the picture below. I changed the input coupling caps to 100μF types to prevent LF roll-off. These are the two amber-colored elcaps you’ll see on the board, next to the yellow film caps. I also removed the bridge rectifiers in the middle of the board and inserted some 1Ω/2W resistors for current limiting and improved noise filtering from the switching power supplies. The power supplies are just two surplus 19.5V, 45W laptop power bricks from old HP laptops. I removed the two PCBAs from the bricks and placed them in a new 3D-printed box to save some space inside the Analyzer.

The LM1875 Stereo Power Amplifier module mounted on a 3D printed mounting base.